Outdoor table makeover
>> Thursday, June 16, 2011 –
project
This past weekend I continued the process of getting the deck into shape. Previously I had cleaned the deck stairs, then cleaned the deck itself (which I don't think I posted about). This weekend's project was the table.
I built this table a few years ago, and have always had a problem with the edging on it. I think I've taken care of it now though... read on for the whole process.
Outdoor furniture is an important part of any garden. Without benches, tables, and chairs the garden becomes someplace you just walk through once in a while, not a place where you can spend some time. Although the table is technically on my deck and not really in the garden, the deck is where we normally sit and look at the garden, so close enough for me.
The table is built on a metal restaurant-style base, so really I only made the table top. It's ceramic tile with cement board underneath (and wood underneath that), and an outside edge that is the main problem:
I used some of the composite decking boards to create the trim, wanting to tie the table into the whole deck area. It worked really well for a year or two, but then the fact that the composite material expands and contracts based on temperature much more than wood does started causing problems.
Cracking, warping, and caulk failure:
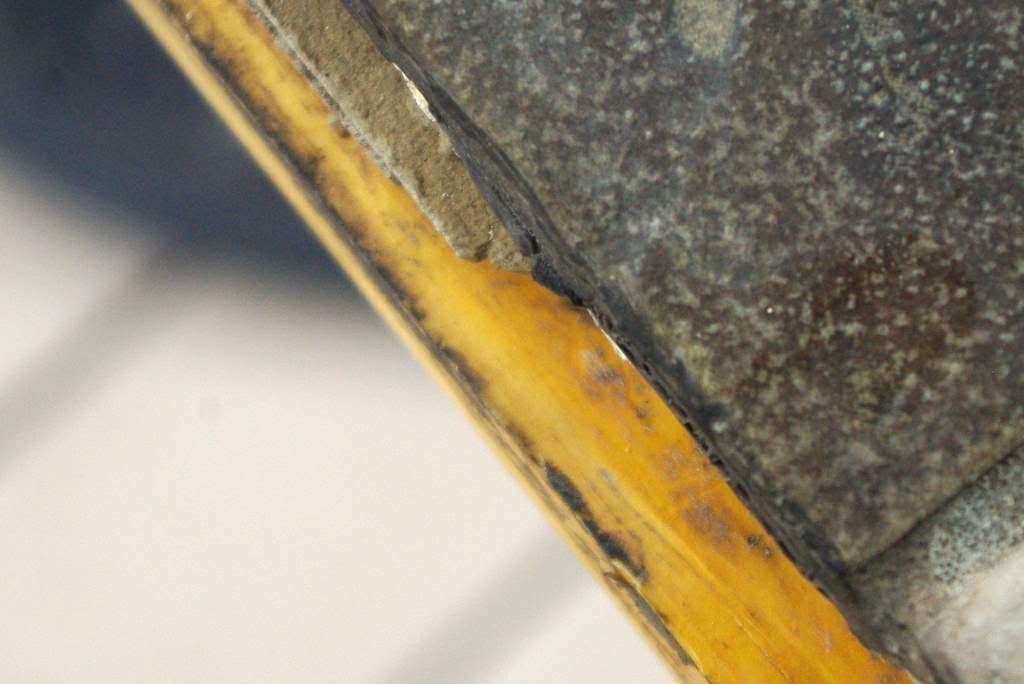
So these trim boards had to go. I removed them and saw what I knew I would, that the cement board had been damaged by the freezing and thawing of the water that had gotten in once the caulk separated:
I had two options at this point. Option one was to remove the tile, replace the cement board (and possibly the underlying wood too), lay the tile again, and grout again. That is a lot of work, especially since the grout is in perfect condition with no evidence of cracking. Option two was to remove the loose parts of the cement board, then just cover it up with the new trim boards. I estimated this would take about 1/5 the time of option one, so guess which option I chose?
Option two!
So I removed the loose cement from the sides that needed it. This one side was in perfect condition:
After comparing the good side to the others, I realized that the main problem was that the bad sides had much too large of a gap between the edge of the board and the edge of the tile:
That gap was much too big for caulk to fill reliably, so I decided to use my circular saw to trim a bit from each side that needed it:
I clamped a board as a guide which I could slide the edge of the circular saw along, so I removed exactly how much board I wanted to without having to "steer" the saw.
This worked great, and now I could cut the new edge boards. I chose to use cedar this time, which should behave much better than the composite boards did. I had to use the table saw to rip the boards to the right width:
Then I just measured, cut, and installed:
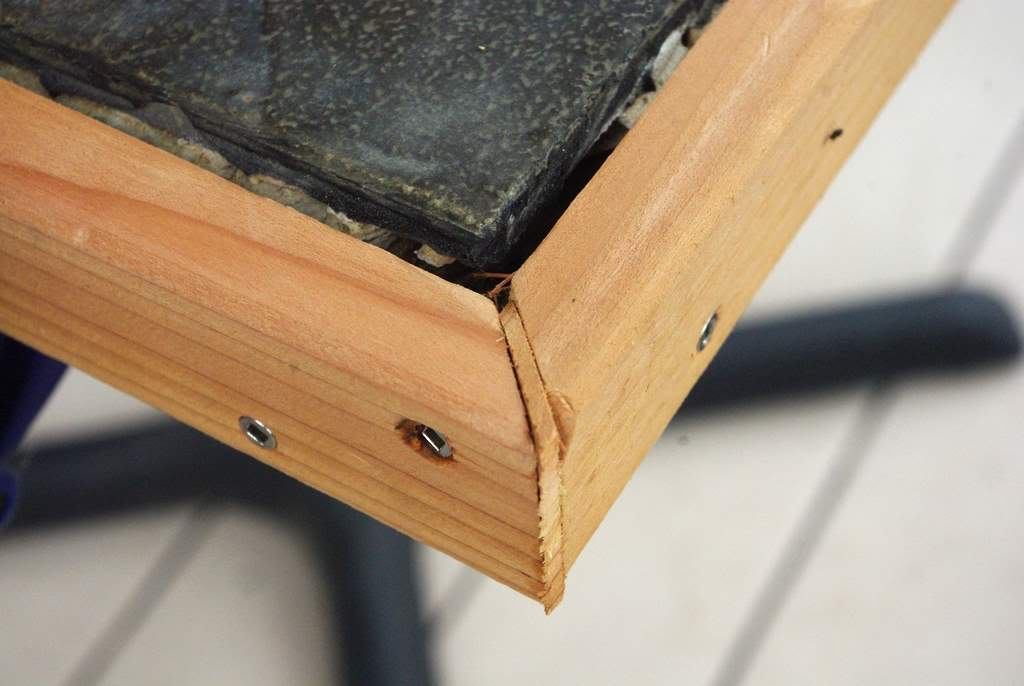
I think I did a pretty good job, and even though I thought I had left the boards a little longer than was needed (it's easier to trim a little off when they're too long) I still ended up with a little bit of a gap in one corner, which I filled with a little strip of cedar:
After filing and sanding you almost can't even tell that a "mistake" was made here.
The caulking process was a nightmare, and I didn't dare touch the camera during that part of the project. Not only would if have been covered in caulk, but there would have been a good chance of it being thrown far into the garden as a result of complete frustration. I've caulked this table twice before, so you'd think I would have learned my lesson already: do not try and smooth the caulk bead! Apply it as smoothly as possible and leave it alone.
There was caulk smeared everywhere, which took forever to clean up.
There is still a little "haze" of caulk on the edges of the tiles and on the top of the wood, as you can see from the places where the water is beading. Looks good though, doesn't it?
I'm pretty happy with the job and although the table is usable as-is, once I get around to staining the deck railing again (the final step in my deck projects) I'll stain these boards the same color.
This time the repair should last longer, even though I cut some corners with option two. I'm looking forward to not having to caulk this table again for several more years!
.


I'm envious of how handy you are. I put together a bookcase from IKEA on Sunday, and that's the extent of what I can do.
Thanks. BTW, I have a good portion of your potting bench designed in my head. I was hoping to make a similar one for myself first so I could work out the kinks, but not sure if I will -- don't have space for it right now!
Love it, and love the tile. We have the same composite material on our deck and we hate it. I remind Steve at least weekly that HE wanted it. I wanted cedar LOL. I also wish that we had some of that natural handy know how!
Cathy: why do you hate the composite decking? I like the smoothness and not having to stain it every year.