I've built raised beds in my garden before, but have only built a bamboo planter once before, at my friend's house. That one turned out pretty nice, but it was a little fancier than what I wanted for myself. Here's how I built it.
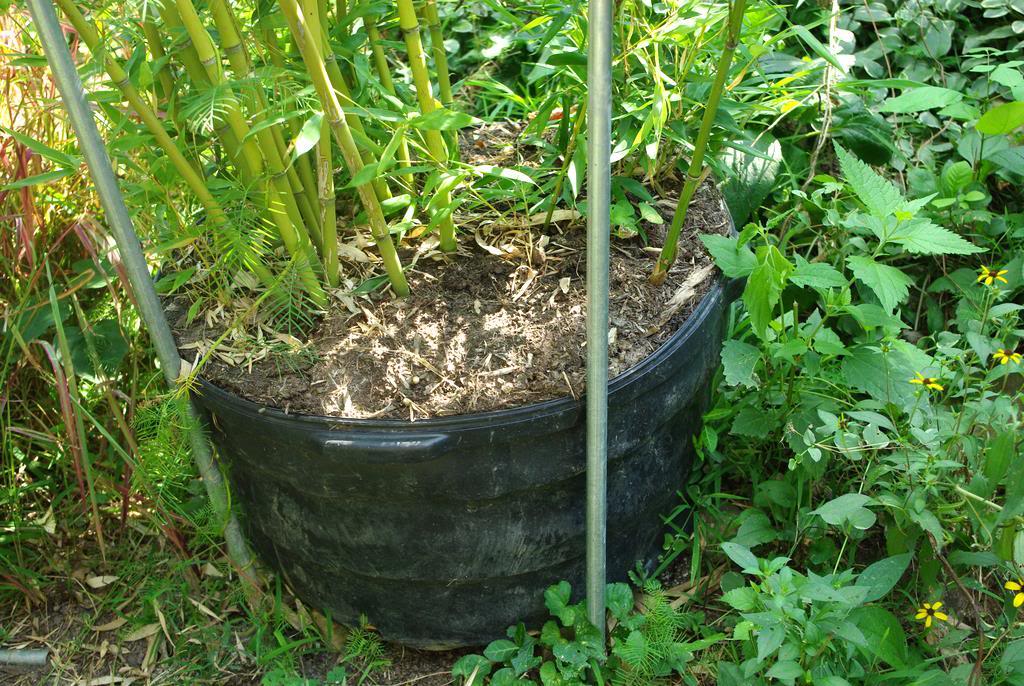
First, this is the plant in question:
It's Phyllostachys bissetii, a running bamboo that has completely filled this container. There's not even any headroom so I can water it -- the water runs off unless I water really really slowly.
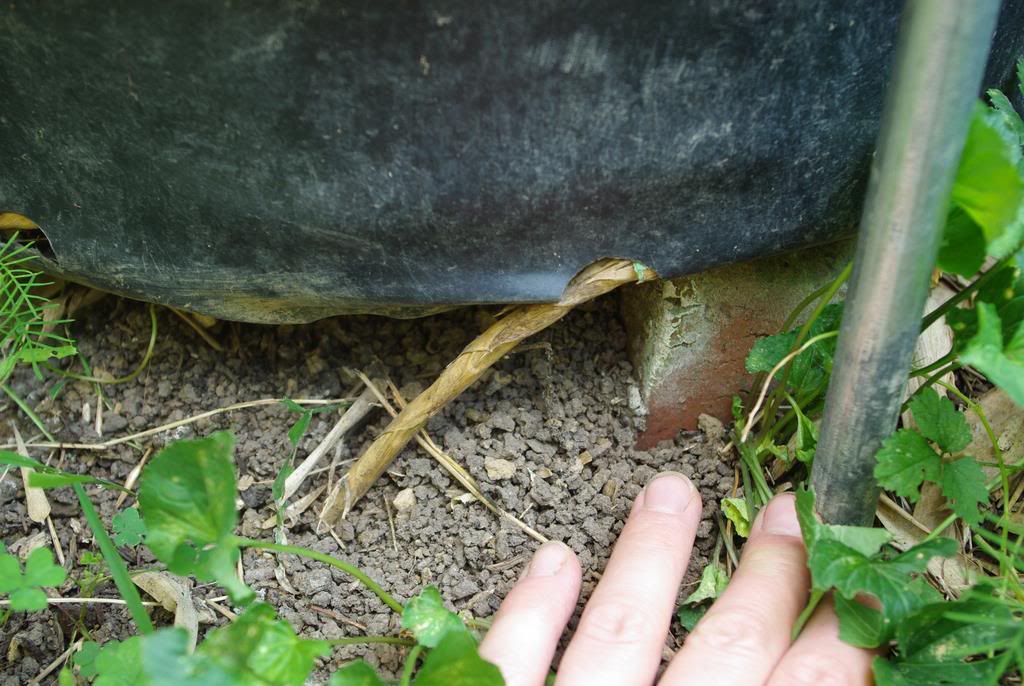
It's trying to escape, sending rhizomes out of the drainage holes:
I left it in this cramped pot for a few months so I could decide if I really liked it in this location -- and I do. It's definitely time to give this guy some more space.
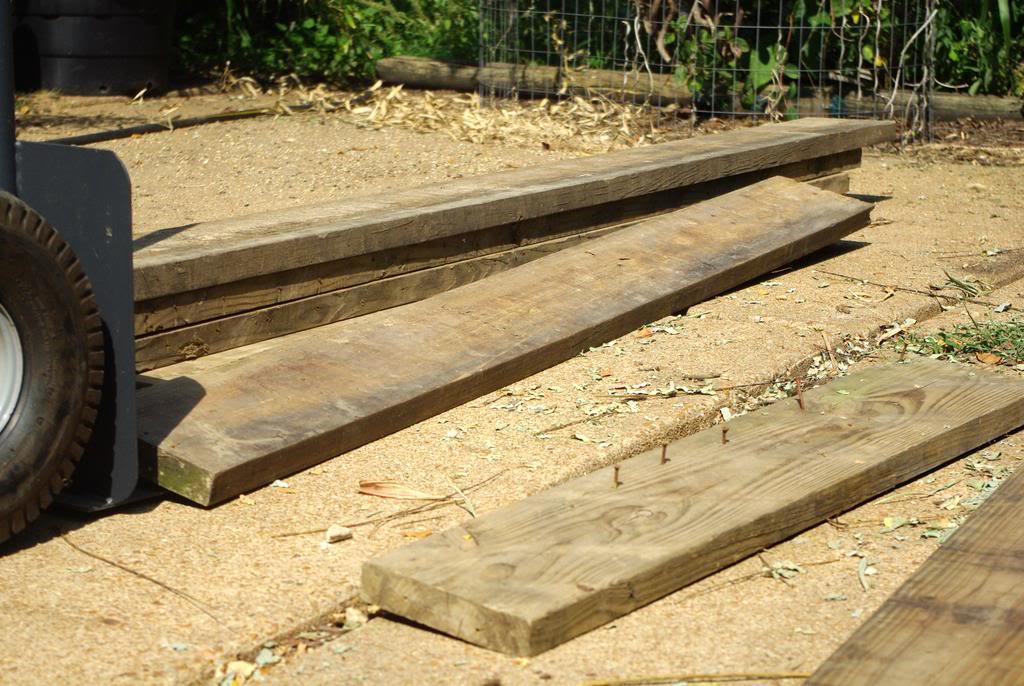
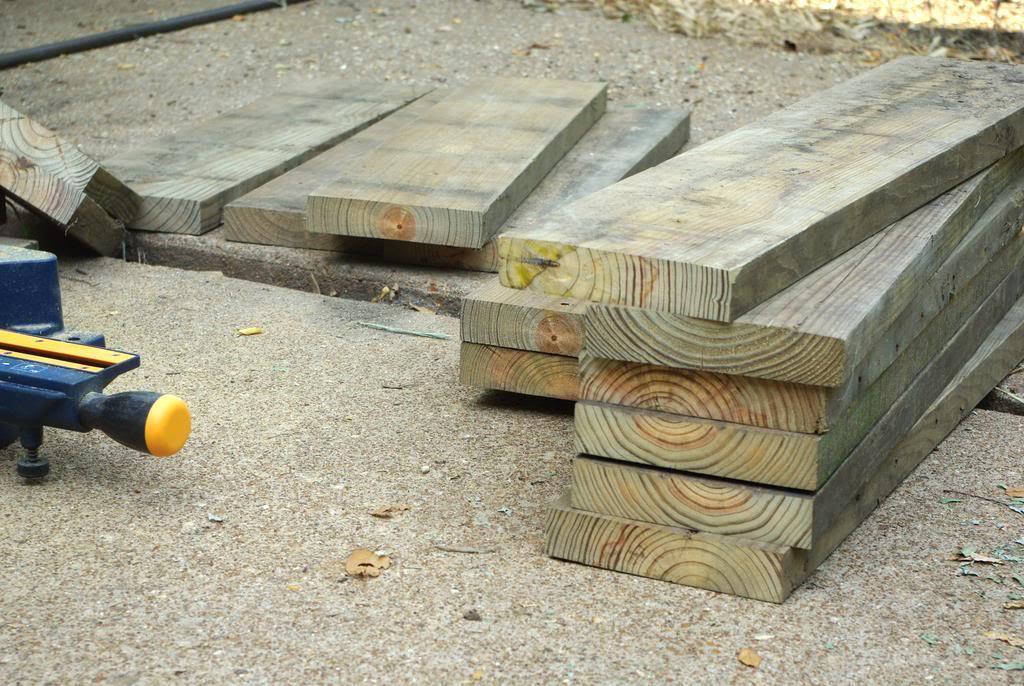
My neighbor had some wood from her old deck that she said I could have, which means a lower price tag for this project:
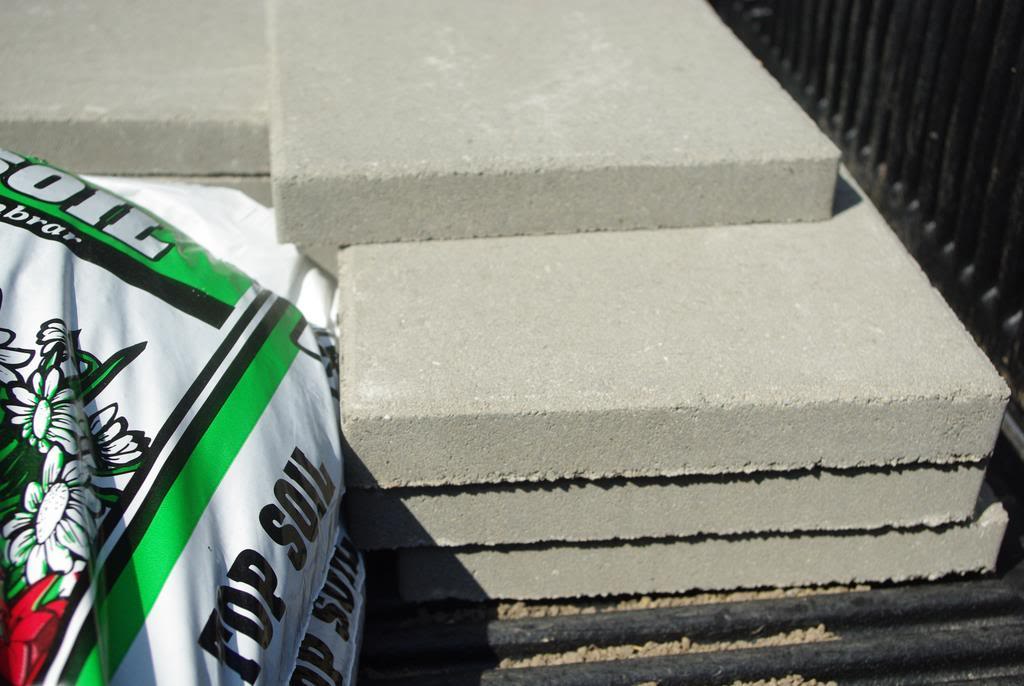
I did have to buy some paving stones, hardware, and soil, but I really like the idea of reusing the old wood!
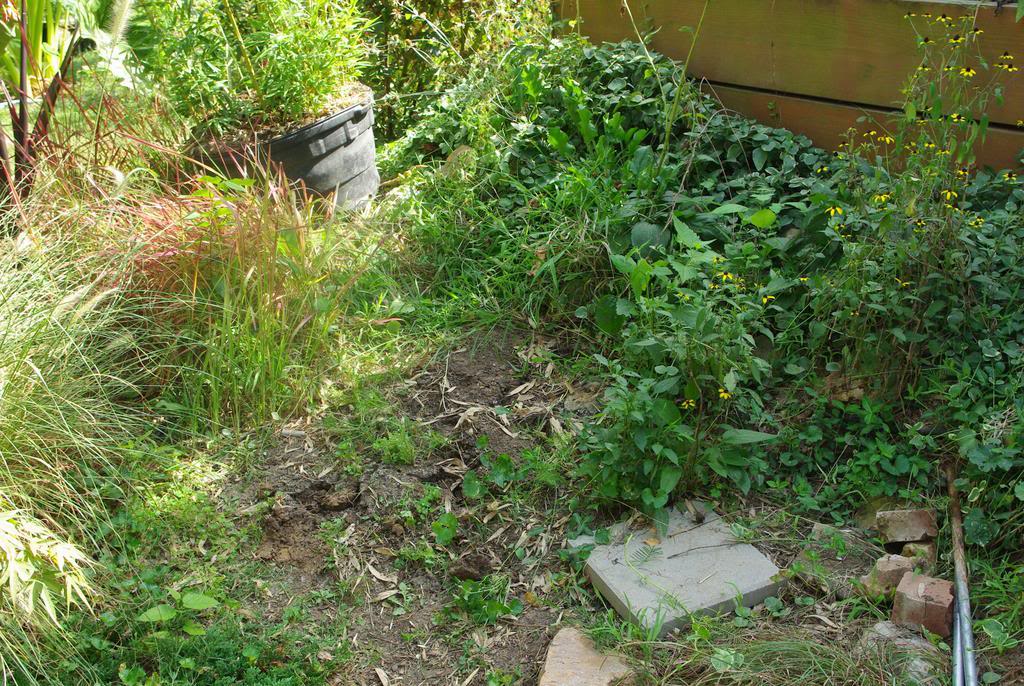
Step one is to clear the space:
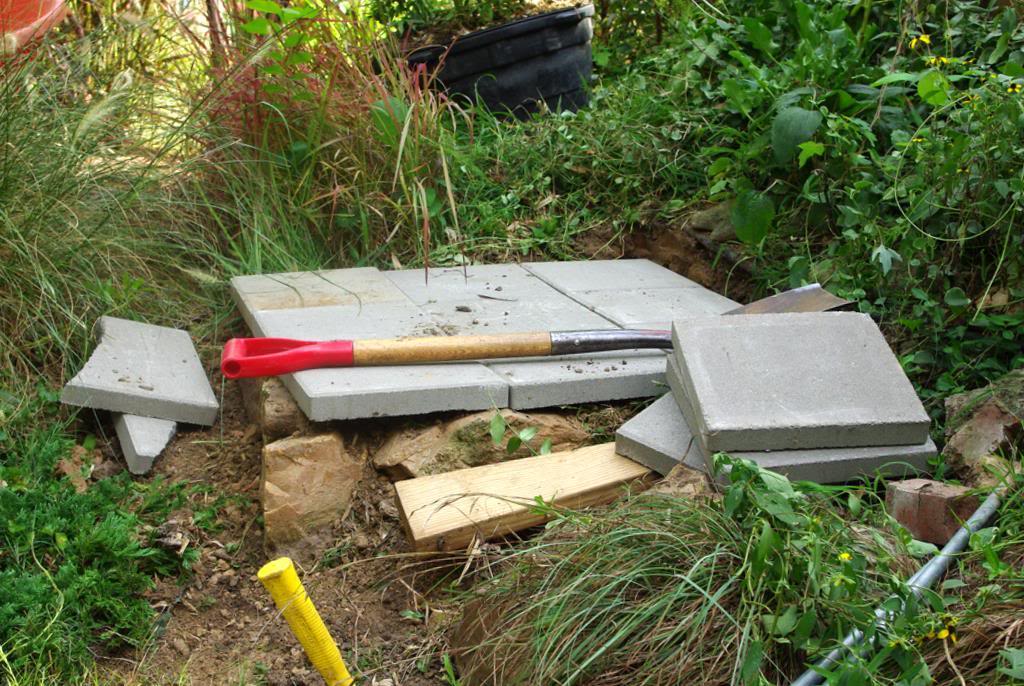
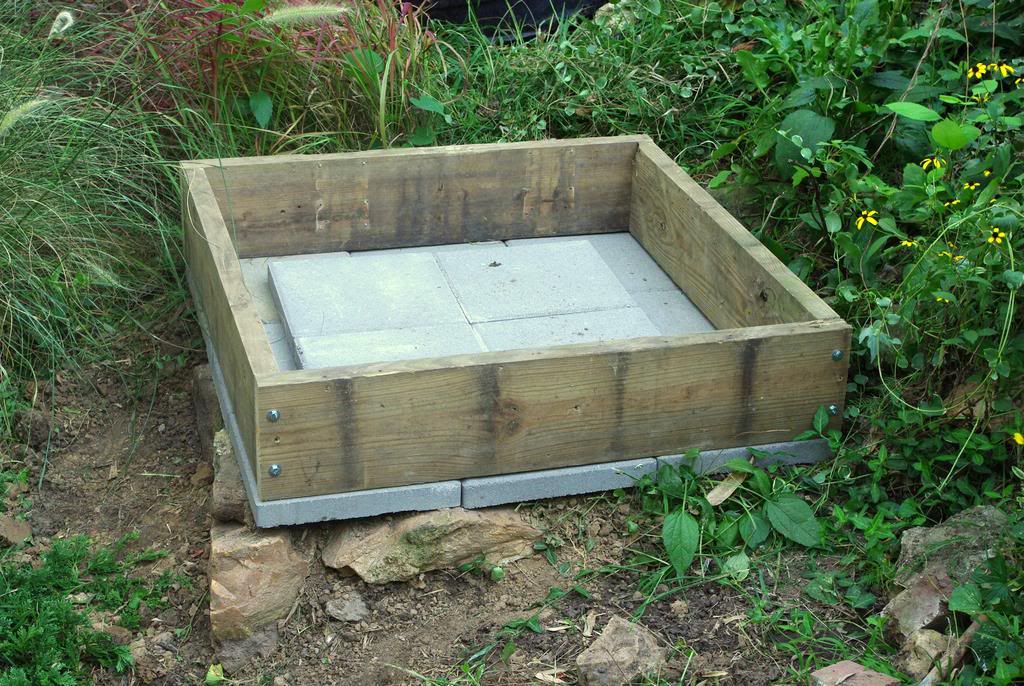
Since there is a slope here I had to dig a little and build up the downhill side, but it was pretty simple. I want the box to be about 3'x3', so I can use a 3x3 grid of 12" paving stones:
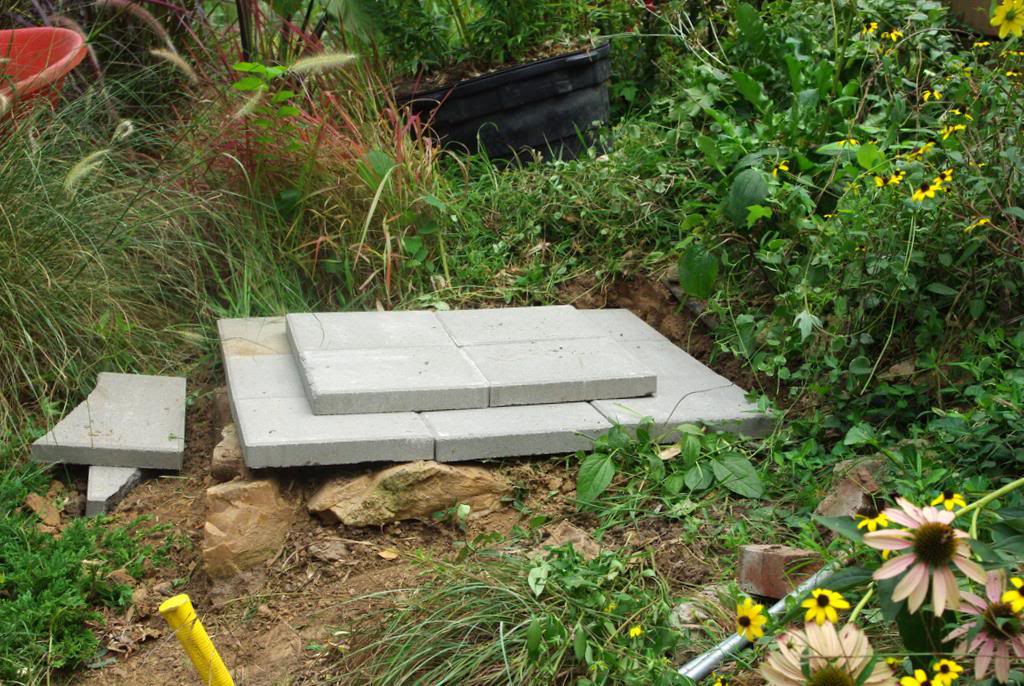
I added some top stones (attached with landscape block adhesive) to hold things in place:
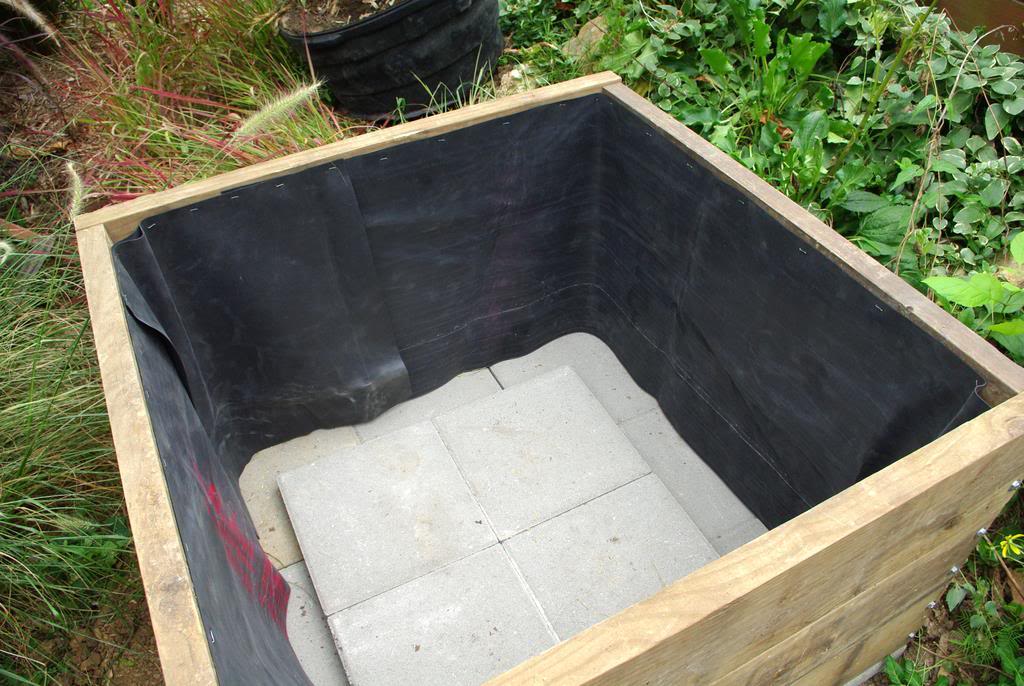
The idea behind the pavers is to create a bottom that can't be penetrated by bamboo rhizomes. This was much easier on the previous project, since my friend's yard was pretty much flat, but it doesn't have to be perfect.
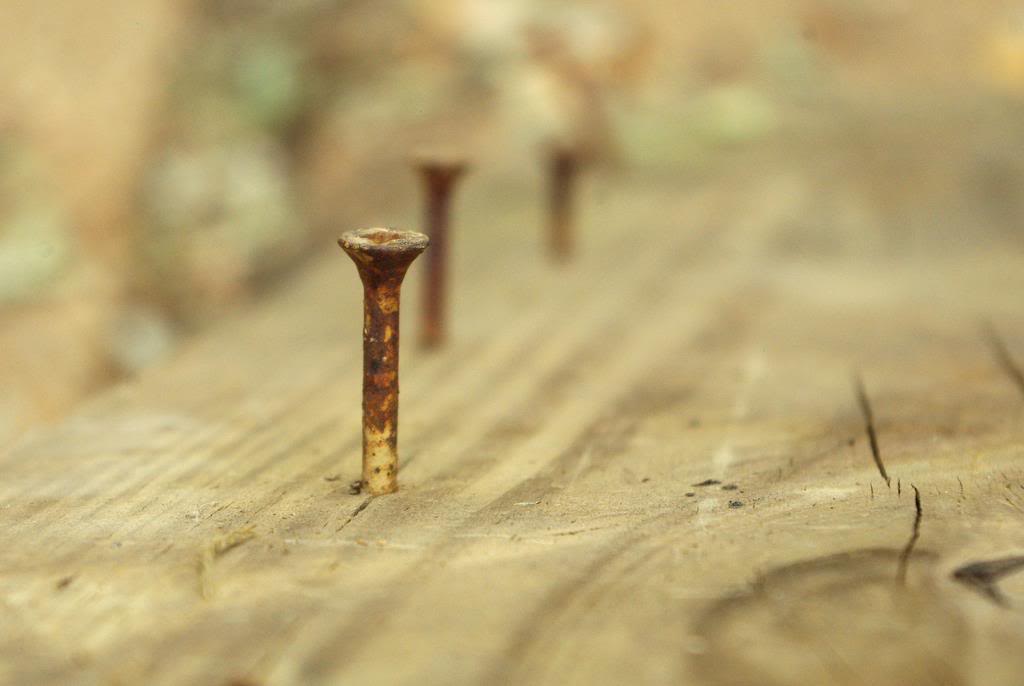
With the base ready I can turn to the structure itself. Since I'm using old lumber there are some screws I need to take care of:
I unscrewed a few of those at first but the faster solution was to whack them with a hammer -- they snapped right off.
A little cutting and I was ready to start assembly:
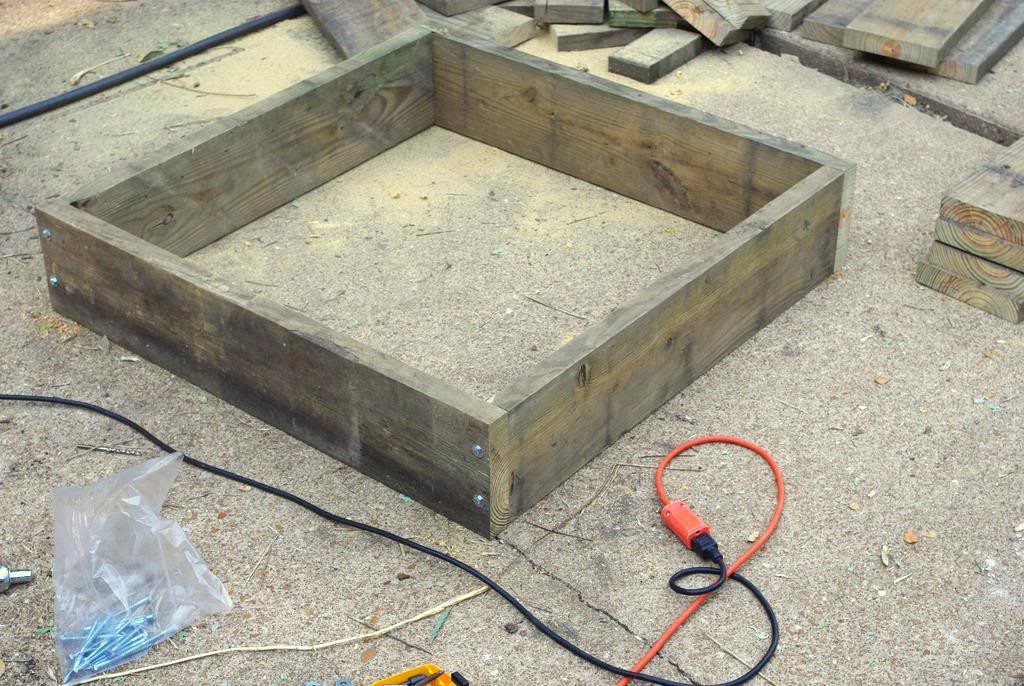
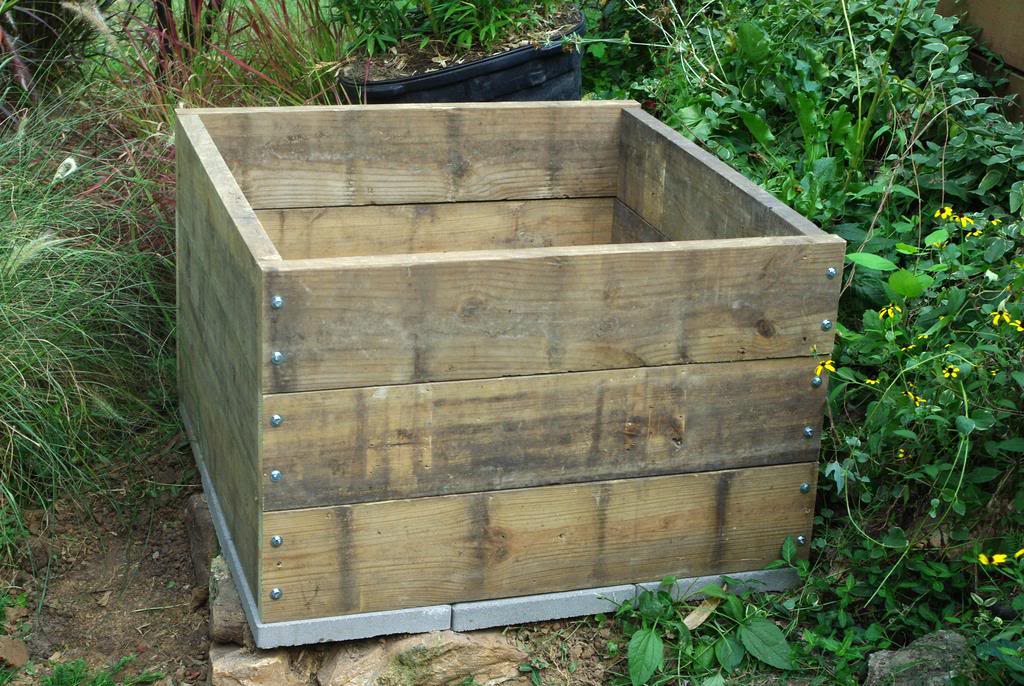
The box will be three boards tall, so I'll build each level on the driveway and stack them on the base once they're done:
I pre-drilled each lag screw hole, and soon had the first layer done and carried into place:
Then the second:
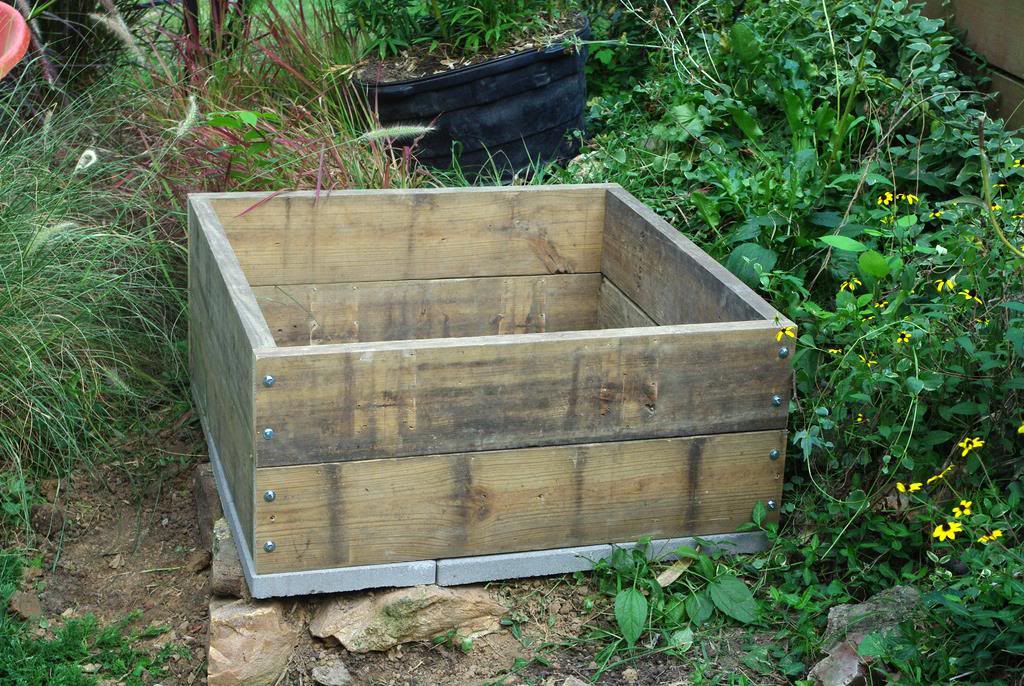
Finally the third:
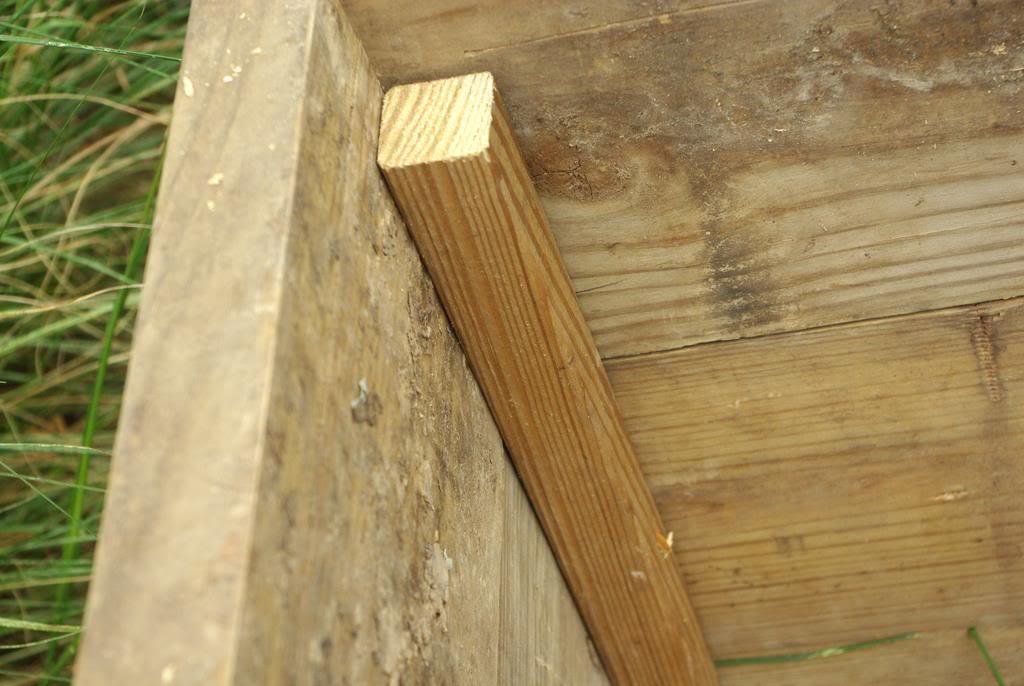
I added some supports in the corners to tie each of the levels together:
Note that I didn't stake this into the ground at all. I'm hoping that the weight of the plant, soil, and structure itself will keep it in place. Time will tell if this is a mistake, but I suppose I can always add some stakes if I notice some movement.
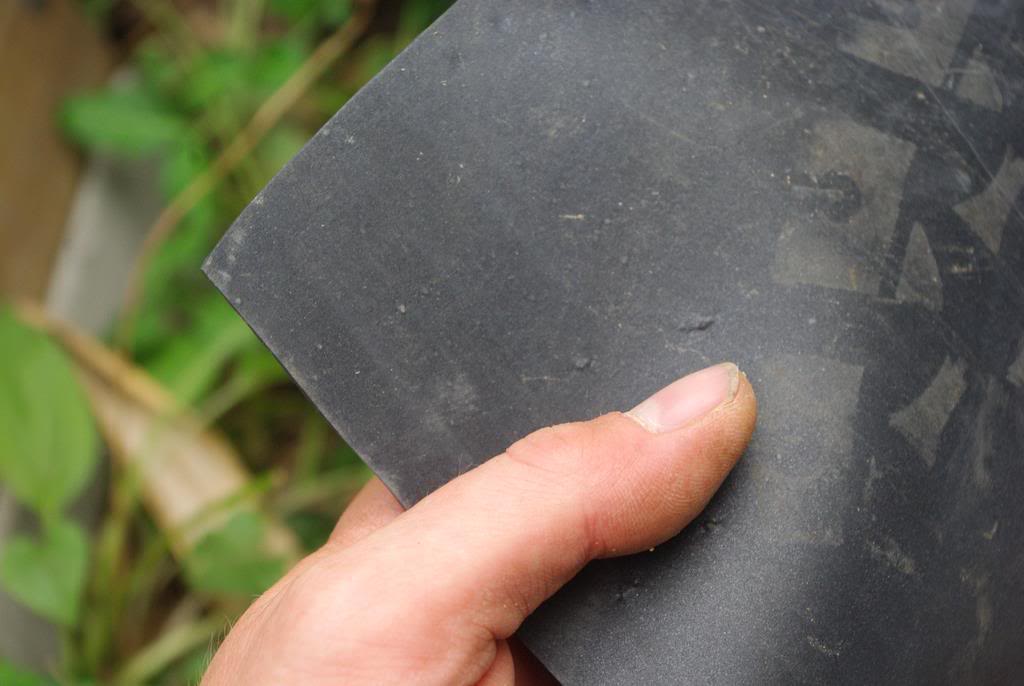
Next I lined the inside of the box with some leftover rubber pond liner:
This will keep the soil from contacting the wood, which should make it last much longer.
I then spent a few minutes wrestling the plant trying to get it out of the pot. Even after cutting the pot I had some trouble getting it free, as it was quite top-heavy and difficult to move around. I didn't take any photos of this because I was too dirty, tired, frustrated, and bleeding from the sharp cut edge of the plastic pot.
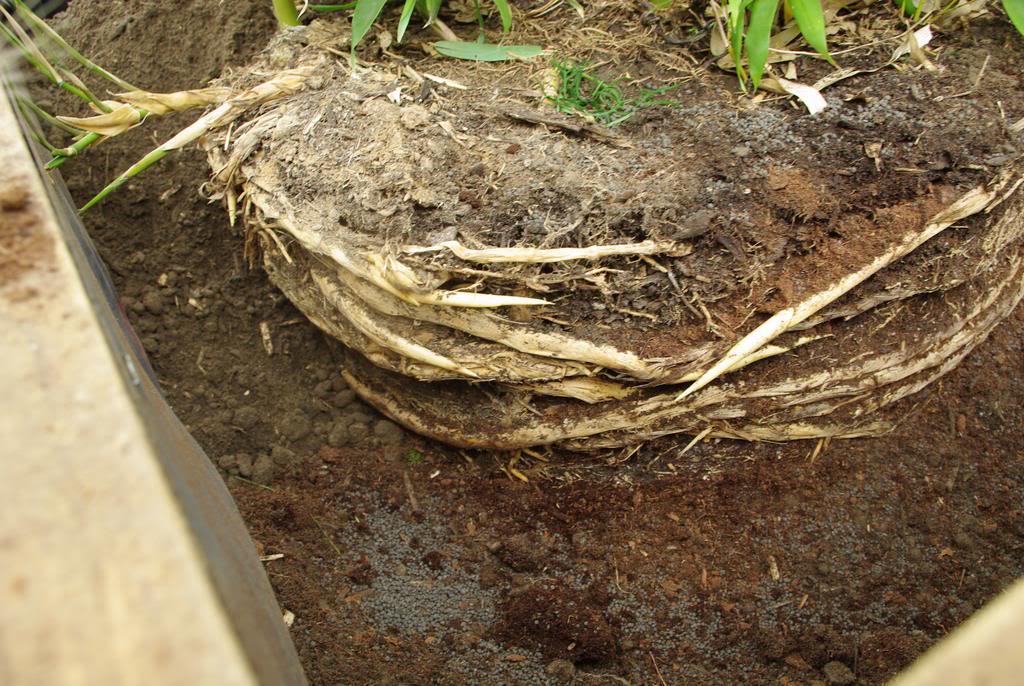
After finally getting it free, heaving it into place and adding some soil to keep it from falling over, you can see that it was quite pot-bound:
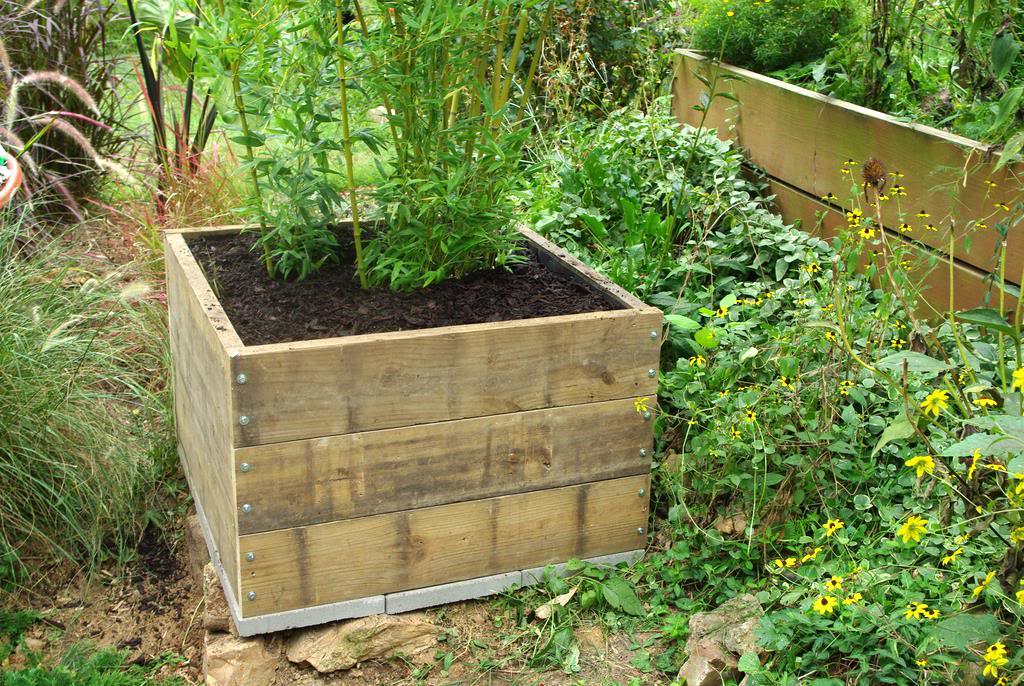
A few more bags of soil (I feel some raindrops, so hurry!), a little mulch, and this job is done:
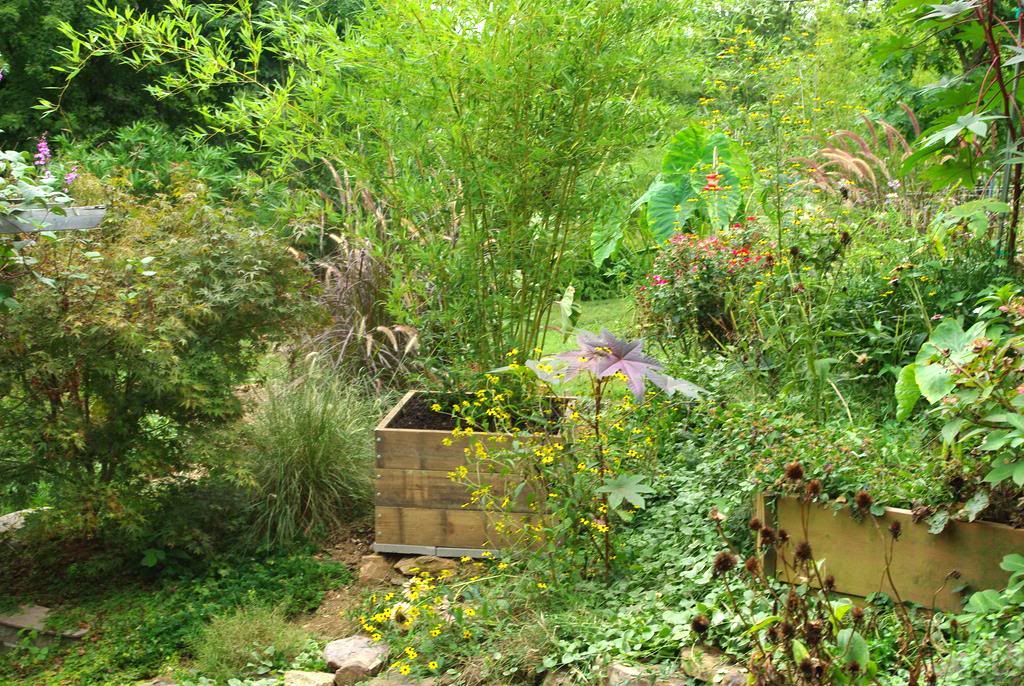
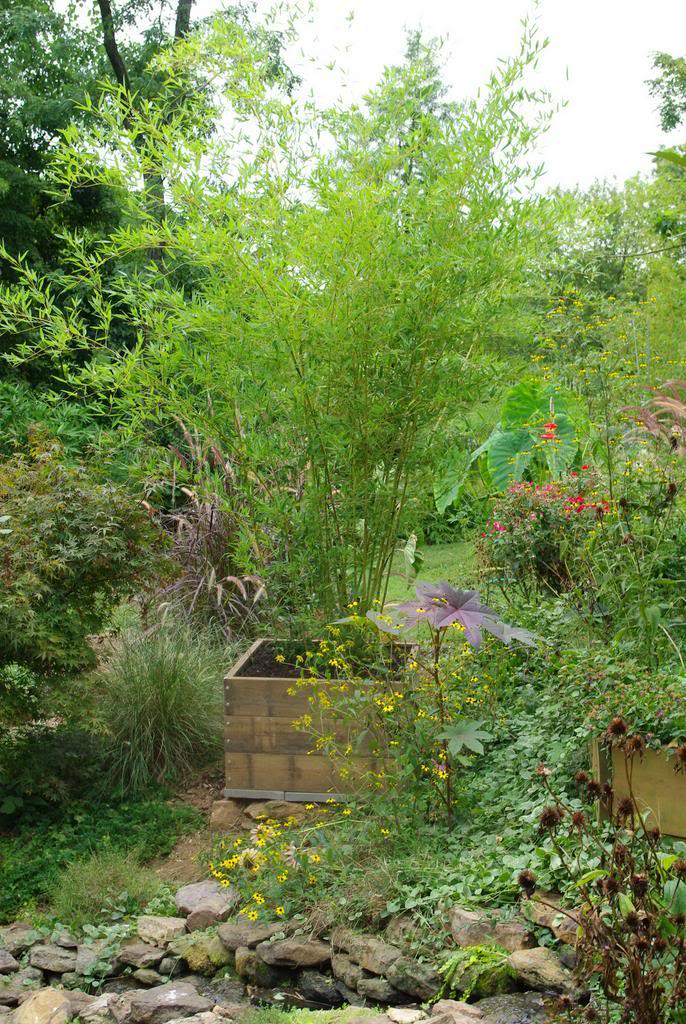
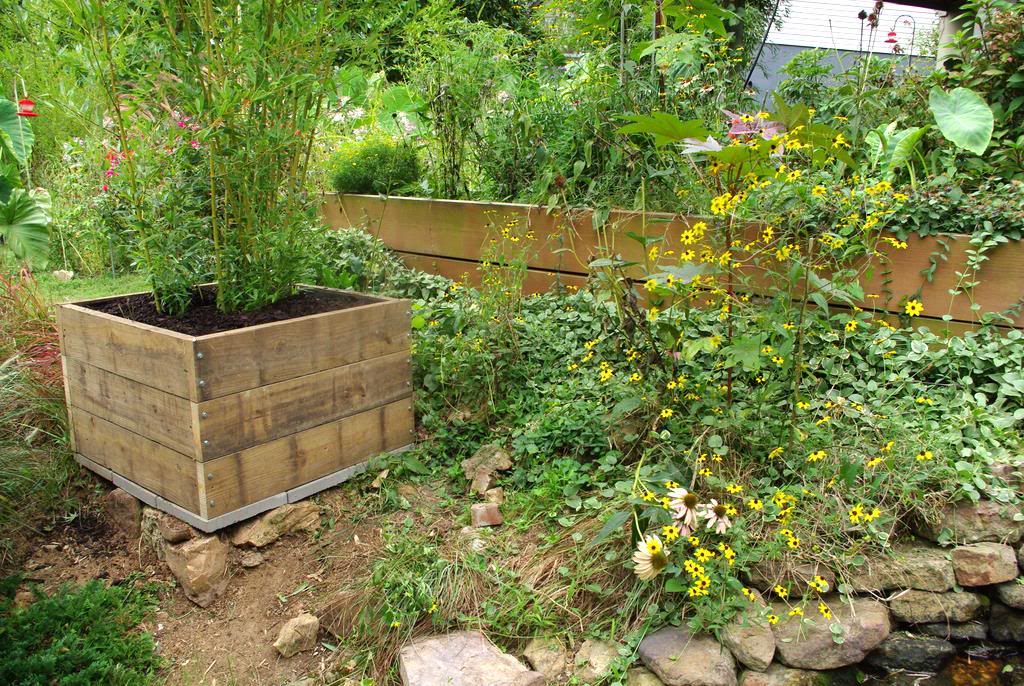
I thought this box would be a little too large and overwhelm the area, but since the raised bed behind it is even taller (because of the slope) it doesn't seem too big:
I actually like the way it ties in with that other raised bed, and like the simple look. I think I'll build a little bench for the spot next to this planter, as it will be nice and shady now -- a great place to watch the stream.
Not bad for an afternoon's work, and it cost me less than $50!
I really love building things for the garden. I'm going to have to do more of this in the next month or so...
.

nice job! hey what would you do for the bottom of the box if you wold place it on pavers?
ReplyDeleteuroš
You did a great job! It looks very good.
ReplyDeleteUros: not sure what you mean. If I did *not* place it on pavers? If it were just on the bare ground the rhizomes would escape and I'd have problems. A box this small needs a bottom to keep the rhizomes from spreading everywhere.
ReplyDeletei was thinking if you have them on the pvers as pavers on terrace. you jused pavers as botom of the box besause you have soil. but what do you use if you put a box on the pavers that are not ment to be botom? i hope i'm not to complicated? :D
ReplyDeleteAlan, great job. The box looks like it's always been there. Your bissetti will thank you next year with much bigger culms :-).
ReplyDeleteGerhard
:: Bamboo and More ::
Uros: ah. I was thinking about building a box on the corner of my concrete driveway, and if I do that I'd just build it right on top. I'd put nothing in the bottom. Just build the box on top of the pavers without a bottom. The only problem might be that some soil might wash out and create a mess, but I don't think that will be an issue.
ReplyDeleteNice job and i really liked the last box you did too. My H built a rectangular box down our side entry. All that is in there now is an agave that had become pot bound. I would like to put a bamboo in the corner for height but it will have to be a clumper. I have seen what running bamboos do here in Texas. Nothing seems to contain them.
ReplyDeletetnx for answer :D
ReplyDeleteL. Rose: rhizome pruning will always control running bamboo, but if you have rocky soil or tree roots in the area it can be difficult indeed. I'd grow more clumpers if I could for sure!
ReplyDeletejust built a box 3'x4'x30" high and am worried bamboo will escape under box, I will use concrete pavers like you show, but still fear they can break thru, any suggestions I am planting phyllostachys a. spectabilis...was thinking laying pressure treated 4x4 then the concrete pavers, drainage rocks, landscaper cloth then the soil
ReplyDeleteAnon: Bamboo rhizomes won't break concrete. Even treated wood in contact with soil will rot after a couple of years, so that's a bad idea. If you're really worried, put several layers of concrete pavers. The drainage rocks won't do anything either except take up valuable root space (could be soil instead).
ReplyDelete